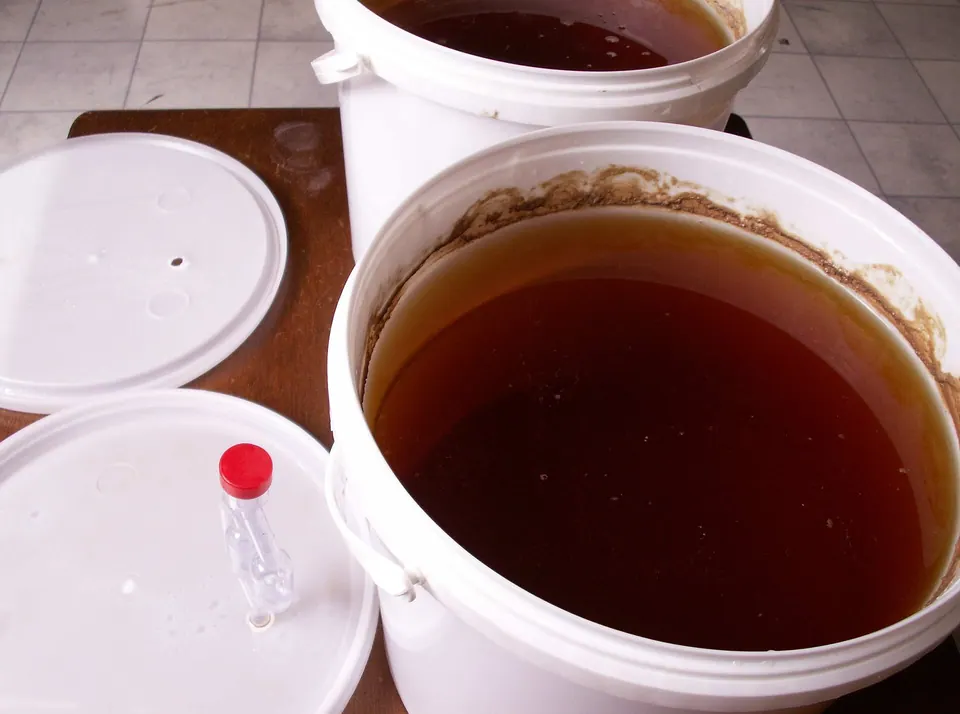
- The cost to start homebrewing depends on three choices: batch size, extract or all-grain, and bottles or kegs.
- We don’t print prices because they change daily. Below are the gear lists for each tier; the budget builder lets you type in today’s prices and see your own total.
- The cheapest start is a 1 gal kit. The most common start is a 5 gal extract starter kit plus a kettle and bottles.
- Repeat costs per batch are ingredients, yeast, sanitizer, caps and (for kegs) CO2. Equipment is mostly a one-time cost.
- Cost per beer falls with every batch you brew on the same gear.
How much does it cost to start homebrewing? The honest answer is a range that depends on how you want to brew, and any single number goes stale within weeks. So instead of quoting prices, this guide breaks the hobby into tiers and lists exactly what you need to buy for each. Plug those lists into our homebrew startup budget builder with the prices you see today, and you get a total that is accurate for you.
The tiers follow the usual path most brewers take: a small kit, then a 5 gal extract setup, then temperature control, then all-grain or kegging. You can stop at any tier and make good beer.
The three choices that set your startup cost
What drives the cost to start homebrewing
| Choice | Lower-cost side | Higher-cost side | Why it matters |
|---|---|---|---|
| Batch size | 1 gal (3.8 L) | 5 gal (19 L) | Bigger batches need a bigger kettle, fermenter and more bottles, but cost less per beer |
| Method | Extract kit | All-grain (BIAB or electric all-in-one) | All-grain needs more gear up front; ingredients per batch are often cheaper |
| Packaging | Bottles | Kegs and a kegerator | Kegging is a large one-time cost and saves hours per batch |
| Heat | Kitchen stove | Outdoor propane or 120V/240V electric | 240V systems may need a new circuit from a licensed electrician |
| Temperature control | A cool closet or swamp cooler | Fridge or chamber with a controller | The upgrade that fixes the most off-flavors |
Source: Palmer, How to Brew; maker kit contents
Homebrew startup budget builderChoose a path and packaging; the builder lists the items, and you type in your own prices. Nothing is preset.Tier 1: a 1 gallon kit
The smallest outlay. A 1 gal kit includes a glass jug, airlock, tubing and a recipe; it brews on a stockpot you probably own and makes about ten 12 oz bottles.
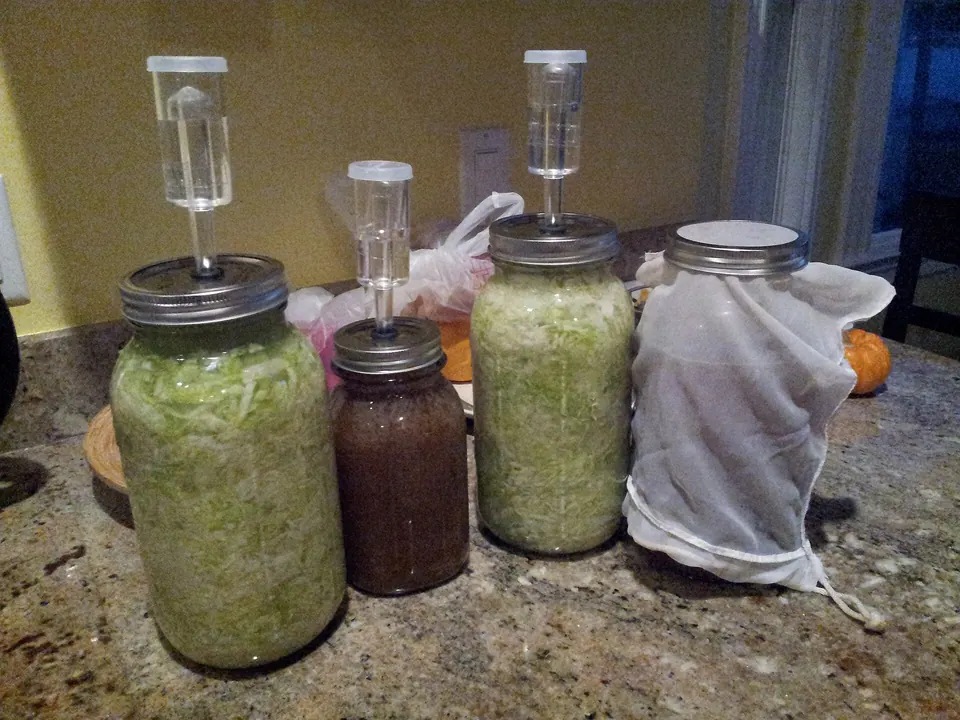
- 1 gal beer kit (equipment + first recipe)
- Stockpot of 1.5–2 gal (you may own one)
- About ten 12 oz bottles, caps and a wing capper (or swing-top bottles)
- Hydrometer (often not in 1 gal kits)
- Refill recipe kits for later batches
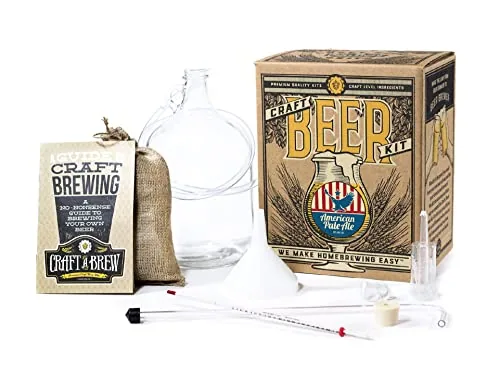
Craft A Brew 1 Gal Beer Making Kit, American Pale Ale
- Batch size
- 1 gal
- Type
- Extract recipe kit + equipment
- Still need
- Bottles and caps
Best for Small-batch first brew or gift
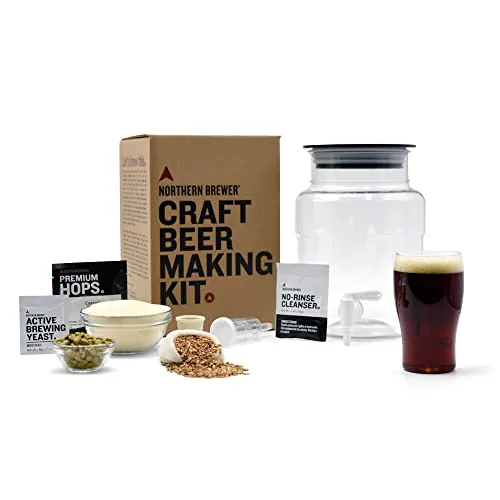
Northern Brewer 1 Gal Beer Starter Kit, Brown Ale
- Batch size
- 1 gal
- Type
- Extract recipe kit + equipment
- Includes
- Brown Ale ingredients
Best for Small first batch or gift
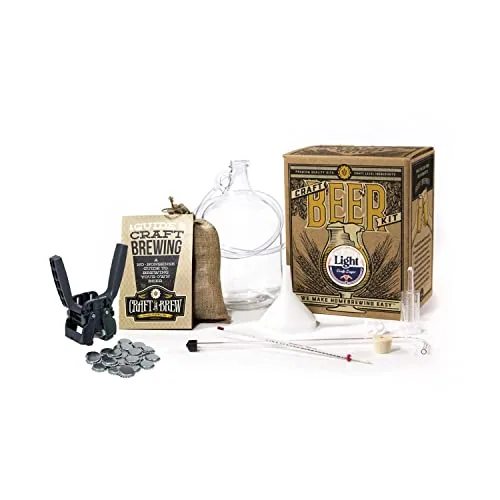
Craft A Brew Deluxe 1 Gal Beer Brewing Kit, Light Lager
- Batch size
- 1 gal
- Type
- Extract recipe kit + equipment
- Includes
- Recipe kit, capper and caps
Best for Gift set that covers bottling too
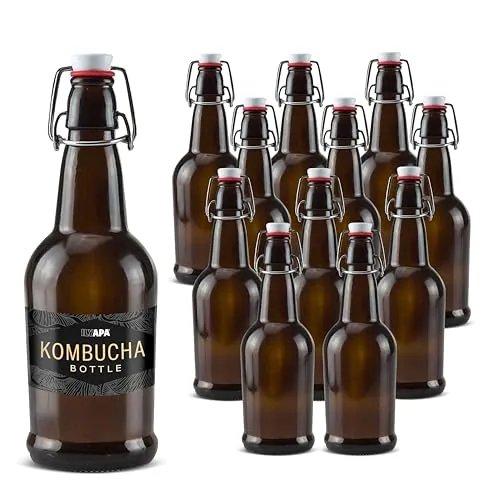
Ilyapa 16 oz Amber Swing-Top Bottles, 12-Pack
- Type
- Swing-top amber glass
- Count
- 12
- Size
- 16 oz
Best for Capper-free bottling
Good for apartments, curiosity and gifts for adults 21+. The cost per bottle is higher than a 5 gal batch because the same time and effort produce fewer beers.
Tier 2: a 5 gallon extract starter setup
The most common starting point. A 5 gal starter kit covers fermenting, transferring and bottling tools; you add the kettle (unless the kit includes one) and bottles.
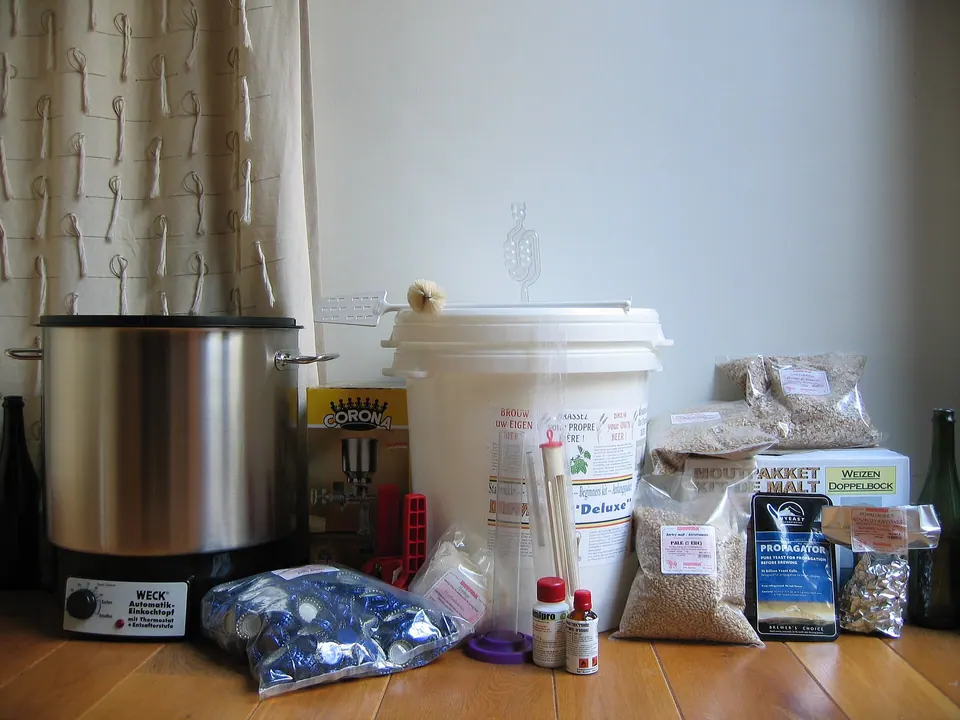
- 5 gal starter equipment kit with fermenter, bottling bucket, auto-siphon, filler, capper and sanitizer
- First recipe kit (often bundled)
- Kettle of 5 gal for partial boils, or 8–10 gal if you plan full boils later
- About 50 × 12 oz bottles and caps
- Hydrometer and test jar (check the kit)
- Instant-read thermometer
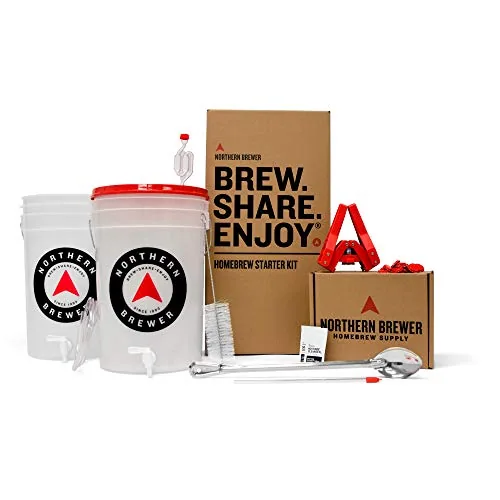
Northern Brewer Brew. Share. Enjoy. Starter Kit, Block Party Amber
- Batch size
- 5 gal
- Type
- Extract recipe kit + equipment
- Fermenter
- Siphonless fermenter
Best for A first 5-gallon extract batch
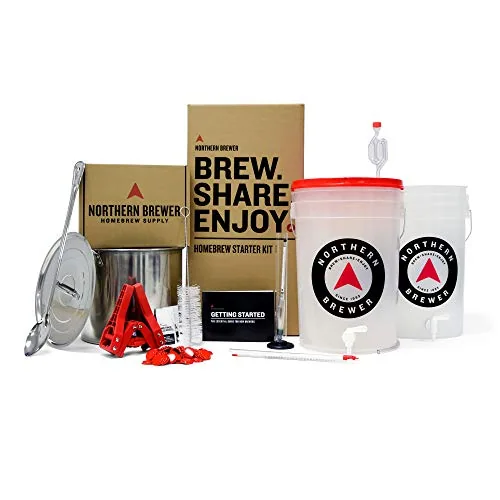
Northern Brewer Starter Kit with Kettle, Chinook IPA, 5 Gal
- Batch size
- 5 gal
- Type
- Extract recipe kit + equipment
- Includes
- Brew kettle, testing equipment, Chinook IPA recipe kit
Best for Hop-forward first batch
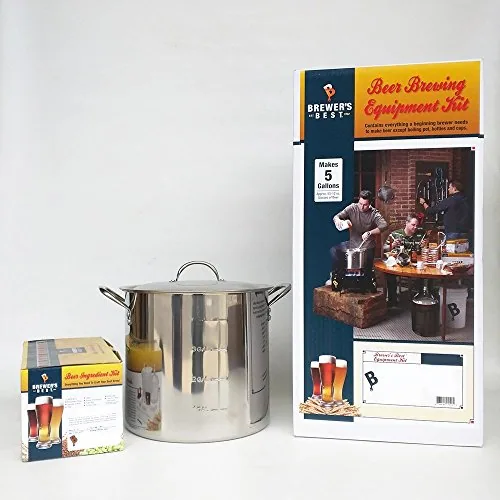
Brewer’s Best Deluxe Equipment Kit with Better Bottle, American Amber
- Batch size
- 5 gal
- Type
- Equipment + ingredient kit
- Fermenter
- Better Bottle PET carboy
Best for Full 5-gallon start incl. kettle
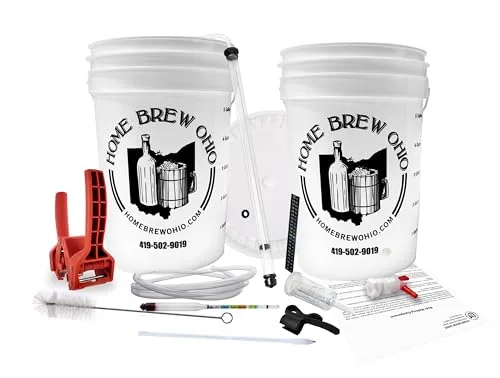
Home Brew Ohio Essential 5 Gal Beer Equipment Kit
- Batch size
- 5 gal
- Type
- Equipment kit
- Fermenter
- 6.5 gal fermentor
Best for Equipment-only 5-gallon start
Reused commercial pry-off bottles cut this tier’s cost noticeably. A kit that includes the kettle saves a separate purchase.
Tier 3: add temperature control and a chiller
This is the tier where beer quality jumps. Nothing here is required, but each item fixes a known problem.
- Dual-stage temperature controller
- Used or new fridge or chest freezer that fits the fermenter (or a fermentation chamber)
- Heat wrap or belt for winter
- Immersion wort chiller with hose fittings
- Bigger kettle (8–10 gal) for full boils
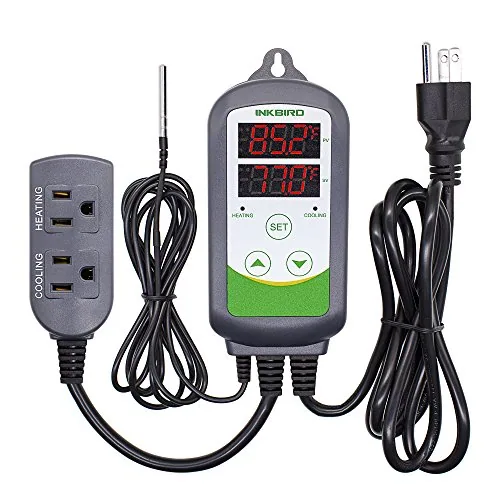
Inkbird ITC-308 Dual-Stage Temperature Controller, 110V
- Outputs
- 2 outlets: heating and cooling
- Range
- °C/°F display, high/low alarms
- Power
- 110V, 10A, 1100 W max (listing)
Best for Fridge or heat-wrap fermentation control
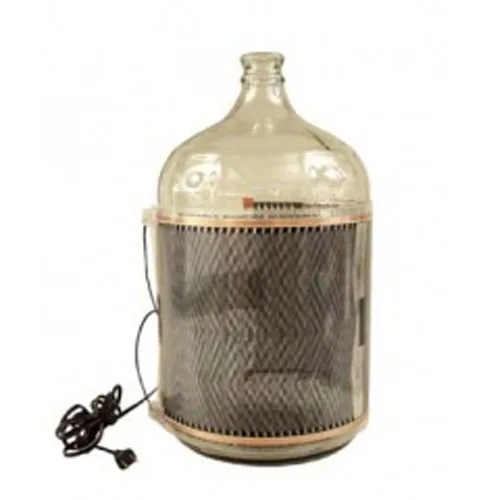
Eagle Brewing FE650 FermWrap Heater, 40W
- Material
- Flexible wrap, tape-on
- Outputs
- Flexible heating wrap, 40 W
- Type
- Fermentation heater
Best for Warming ales in a cold garage
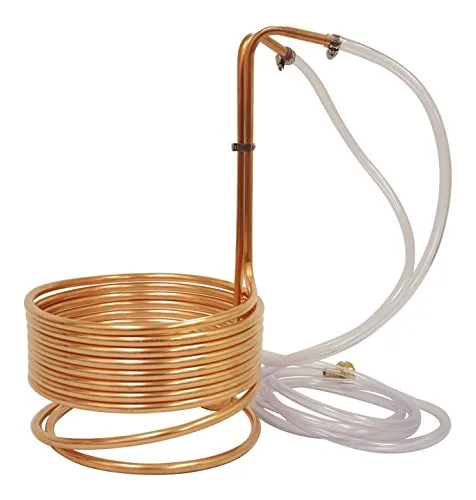
NY Brew Supply Copper Immersion Wort Chiller, 3/8 in. x 25 ft
- Volume
- 3/8 in. × 25 ft, 9 1/4 in. coil, 16 in. tall
- Material
- Copper
- Type
- Immersion chiller
Best for First chiller for 5-gallon batches
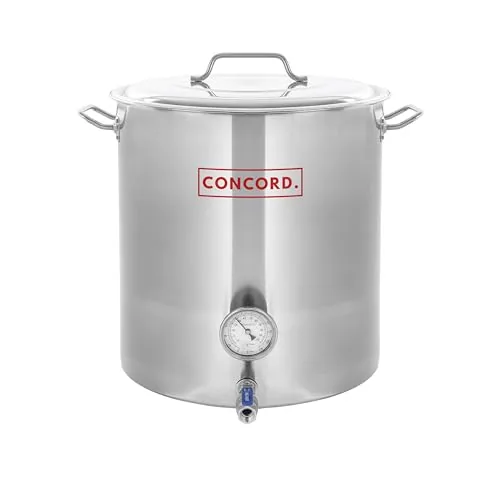
Concord Stainless Brew Kettle, Weldless Fittings, 10 gal
- Volume
- 40 qt (10 gal)
- Power
- Stovetop or outdoor burner
- Material
- Stainless steel, 304 stainless fittings
Best for 10 gal boils on a budget
Tier 4: all-grain
Two ways in, with very different shopping lists.
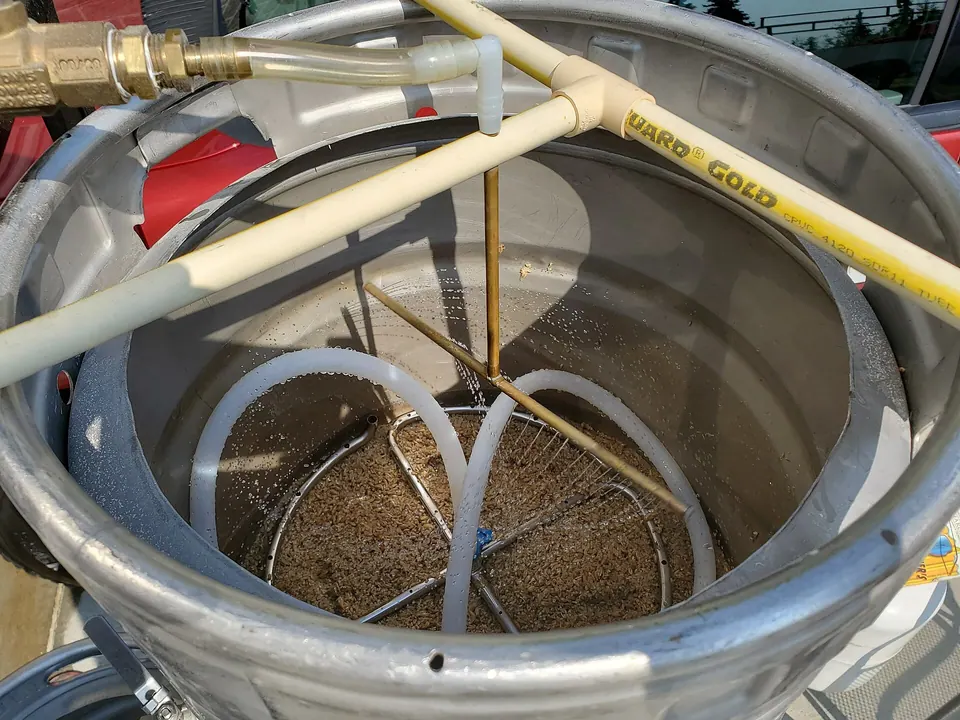
Brew-in-a-bag on a kettle
- Kettle of 8–10 gal (30–38 L) or larger
- Reusable BIAB bag sized to the kettle
- Outdoor propane burner and regulator, or a strong stove for small batches
- Grain (pre-crushed at first) and later a two-roller mill
- Pulley or rack to lift the bag; heat-resistant gloves
Electric all-in-one
- 120V or 240V all-in-one system (Anvil Foundry, Grainfather G30, BrewZilla, Brewer’s Edge)
- Immersion chiller if the system doesn’t include one
- A suitable GFCI-protected circuit (240V installed by a licensed electrician)
- Grain, and optionally a mill
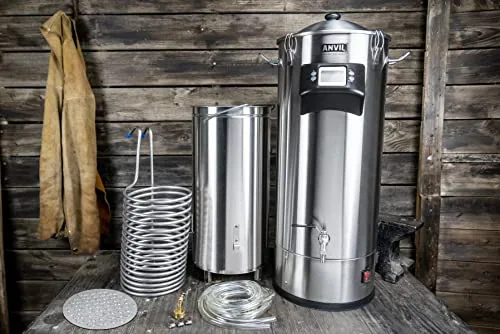
Anvil Foundry 10.5 Gal All-in-One with Pump
- Volume
- 10.5 gal
- Power
- 120V 1600 W (13 A) or 240V 2800 W (12 A), switchable
- Material
- Stainless, double-wall insulated
Best for Dual-voltage all-grain
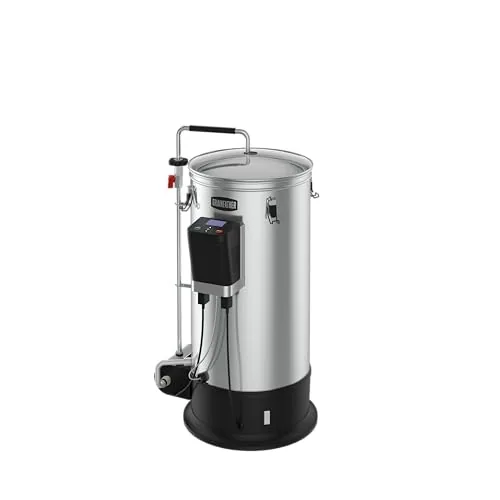
Grainfather G30³ 110V All-in-One Brewing System
- Volume
- 8 US gal
- Power
- 110V (US model)
- Material
- 304 stainless steel
Best for Compact 120V all-grain
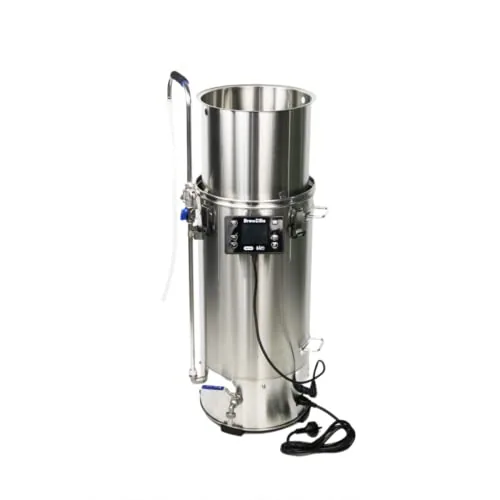
KegLand BrewZilla Gen 4 35L 110V, Wi-Fi/RAPT, with Pump
- Volume
- 35 L (9.24 gal)
- Power
- 110V
- Material
- Stainless steel
Best for 120V all-grain with app control
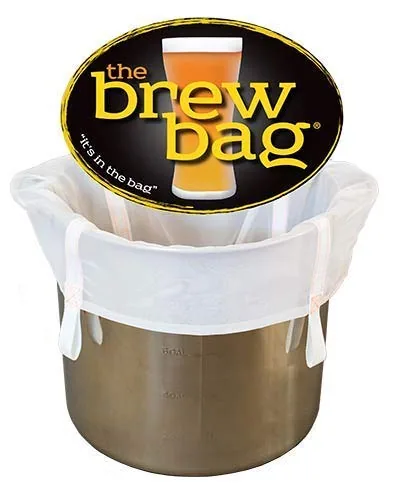
The Brew Bag for 50–60 Qt Kettles
- Volume
- Fits 50 and 60 qt kettles
- Material
- Mesh with 1 in. poly straps
- Type
- BIAB bag
Best for BIAB in a large kettle
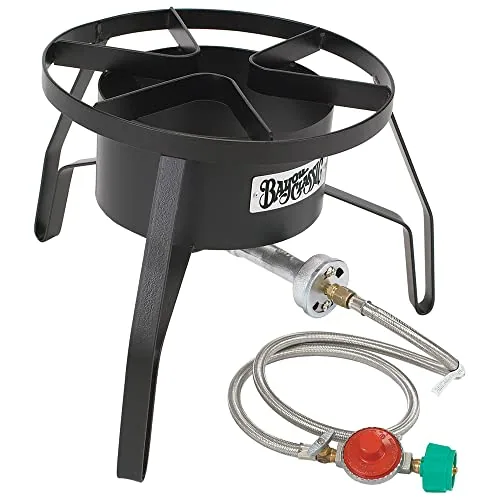
Bayou Classic SP10 High Pressure Cooker, 14 in.
- Volume
- Pots up to 62 qt (listing size)
- Power
- Propane, 59,000 BTU (outdoor use)
- Type
- Outdoor propane cooker
Best for Outdoor 5-gallon boils
See how to brew all-grain for the process.
Tier 5: switch to kegs
- Kegerator, or a fridge or chest freezer plus a conversion kit (keezer)
- Two 5 gal ball-lock kegs
- CO2 cylinder (5 lb is common) and a dual-gauge regulator
- Gas and liquid disconnects, beer line and a faucet
- Line cleaning kit
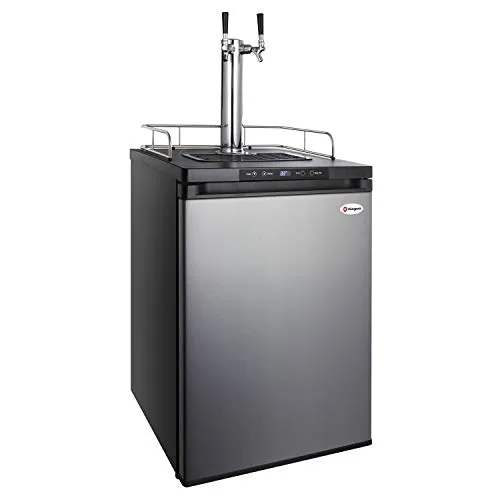
Kegco HBK309S-2 Homebrew Kegerator, 2 Tap, Stainless
- Taps
- 2
- Kegs
- Homebrew (ball lock) kegs
- Temp range
- Digital, 1° steps; dispense or ferment
Best for A dedicated homebrew kegerator
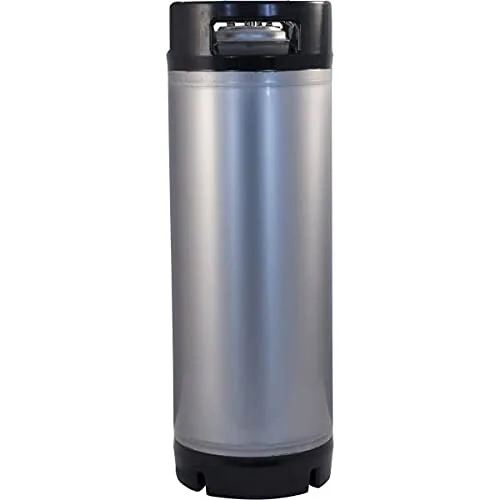
KegLand New Cornelius Keg, 5 Gal, Ball Lock
- Kegs
- 5 gal (19 L), ball lock
- Pressure
- 130 PSI operating
- Material
- 304 stainless
Best for First homebrew keg
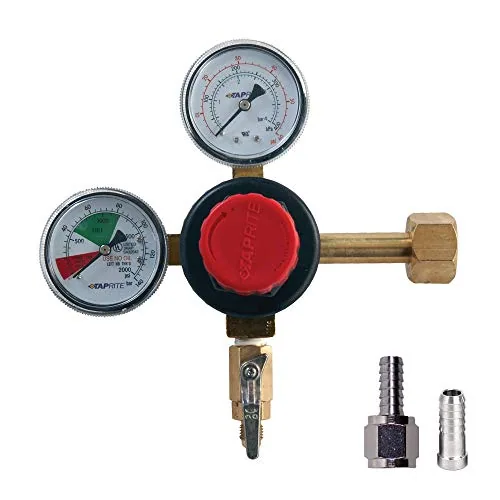
Taprite Dual Gauge CO2 Regulator with MFL Check Valve
- Couplers
- MFL check valve; 1/4 and 5/16 in. barbs
- Gauges
- Dual gauge
- Pressure
- Safety blow-off at 55–60 PSI
Best for First kegging regulator
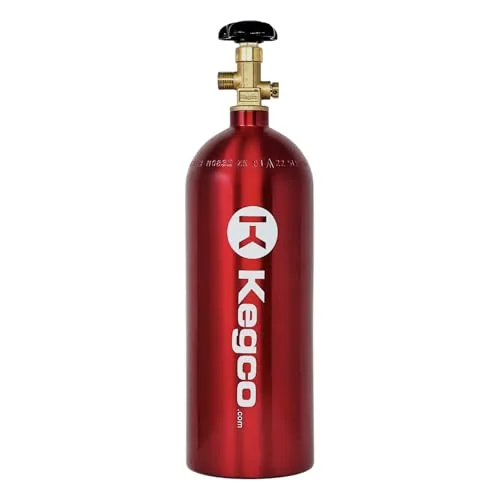
Kegco 3PB5-RED 5 lb Aluminum CO2 Tank
- Gauges
- CGA 320 valve
- Size
- 5 lb
- Material
- 6061-T6 aluminum, 1800 PSI service
Best for Kegerator CO2 supply
A kegerator can double as a fermentation chamber between batches if its temperature range reaches ale temperatures; Kegco lists 32–75°F for its HBK309 models. Details in how to keg homebrew.
How long each shopping list is
Counting the items on the lists above gives a quick sense of how much each tier adds. Smaller is not always cheaper per beer, but it is less to buy and store.
Items to buy, by tier
Counted from the lists in this guide; you may already own some
Repeat costs per batch
Once the gear is paid for, each batch costs only the consumables. List these in the builder too, so the cost per beer is honest.
Consumables per 5 gal batch
| Item | Amount per batch | Note |
|---|---|---|
| Recipe kit or grain + hops | 1 kit, or about 9–11 lb grain and 2–6 oz hops | Hoppy beers cost more |
| Dry yeast | 1–2 sachets of 11 g | Maker doses: US-05 50–80 g/hL |
| Sanitizer | About 1 fl oz Star San per 5 gal mix | Per label; the mix can be reused while clear |
| Cleaner | Per label | PBW or OneStep |
| Caps | About 50 | Kegging: none |
| Priming sugar | About 4–5 oz (113–142 g) corn sugar for 2.5 vol | Use the calculator |
| CO2 (kegging) | Part of a cylinder fill | Leaks waste the most gas |
| Water | About 6–8 gal | Campden tablet for chloramine |
Source: Fermentis US-05 sheet; EPA Star San label; BYO priming chart
Cost per 12 oz serving is simply the batch cost divided by about 53 (a 5 gal batch is 640 fl oz). Add a share of the equipment cost if you want the full picture; the share shrinks every batch.
Some costs never show up on a shopping list. Propane refills or the electricity for a 60–90 minute boil, water for chilling, replacement O-rings and airlocks, and the space a fermentation fridge takes all belong in an honest budget. Add a line for each in the builder, even as a rough estimate, and update it after your first few batches when you know your real usage.
Ways to keep startup costs down
- Reuse commercial pry-off bottles. Rinse right after pouring, inspect for chips, clean and sanitize.
- Buy the kettle once. An 8–10 gal pot serves extract today and BIAB later.
- Start with dry yeast. It stores well and doesn’t need a starter at normal gravities.
- Brew a recipe twice. Buying base malt for two batches lowers ingredient cost.
- Use a swamp cooler before a fridge. A tub of water and frozen bottles can hold ales several degrees cooler.
- Inspect used gear carefully. Plastic with deep scratches is hard to sanitize; pressure vessels and CO2 cylinders must be in date and undamaged.
Mistakes that make homebrewing cost more
- Buying a too-small kettle, then buying again within months.
- Skipping sanitizer or temperature control and pouring out infected or harsh batches.
- Buying an all-in-one before learning the basics, then using it twice.
- Slow CO2 leaks. Spray connections with sanitizer and look for bubbles.
- Overbuying ingredients. Hops and liquid extract go stale; buy for the next batch or two.
Gear picks for this guide: best beer making kits for beginners and best all-in-one electric brewing systems.