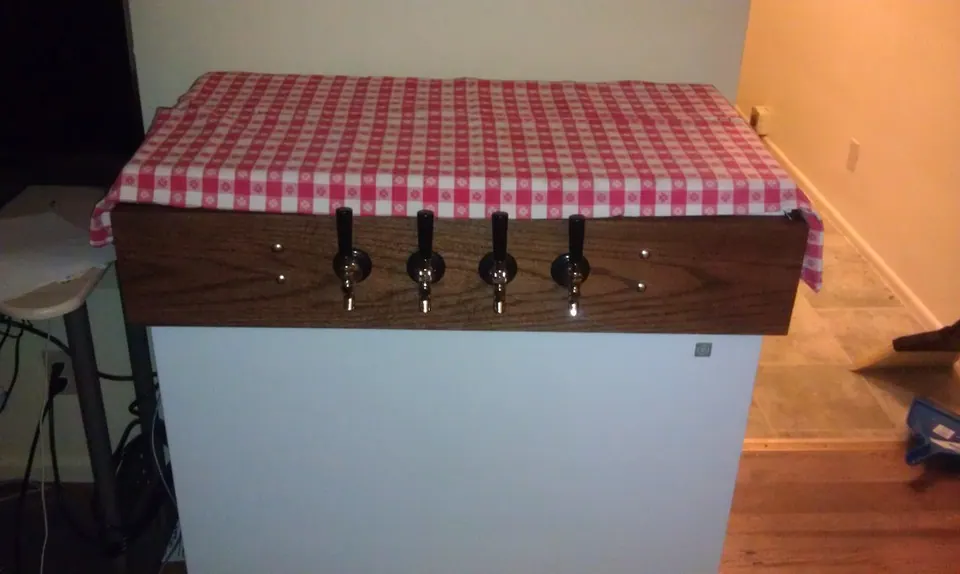
- A kegerator conversion turns a fridge into a tap system; a keezer does the same with a chest freezer and a temperature controller.
- Homebrew kegs are ball lock (or pin lock) corny kegs. Commercial Sankey kegs need a D-system coupler, which homebrew kits often leave out.
- Never drill a chest freezer’s walls: BYO warns they are full of refrigerant lines. Build a wooden collar instead.
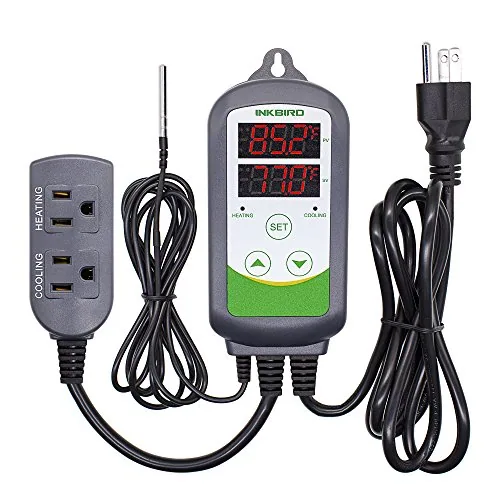
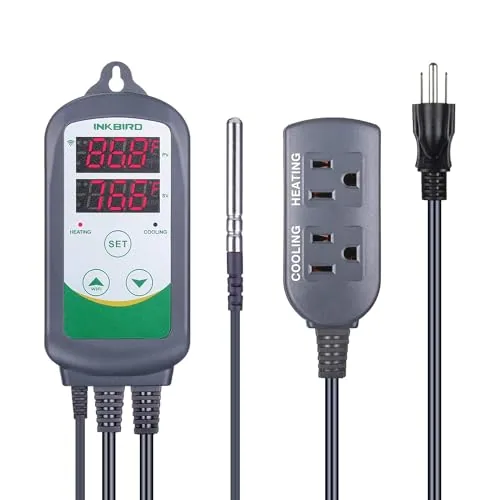
- Run the freezer through an external controller with its own thermostat set to the lowest setting, so the controller does the work.
- CO2 cylinders go upright and secured, always behind a regulator, and a CO2 monitor makes sense in a small room or basement.
A kegerator and keezer conversion is the most common upgrade once you get tired of washing bottles. You need a cold box, a CO2 cylinder with a regulator, gas and beer lines, disconnects for your kegs and faucets to pour from. The question is which cold box: a purpose-built homebrew kegerator, a converted fridge or a chest freezer with a collar.
This guide compares the three routes from maker listings and published build guides (BYO, Kegco, the Brewers Association draught manual), lists the parts and walks through a keezer build. We did not build these units; follow your appliance manual and the instructions that come with each kit.
Kegerator, fridge conversion or keezer?
Three ways to get cold beer on tap
| Homebrew kegerator | Converted fridge | Keezer (chest freezer + collar) | |
|---|---|---|---|
| Work involved | ✓ Arrives ready; add kegs and gas | ~ Drill the door or top for shanks or a tower | ~ Build and seal a collar, add a controller |
| Keg capacity | ~ Listing-dependent (Kegco HBK309S-2K: up to three 5 gal kegs) | ~ Depends on shelf and hump layout | ✓ Usually the most kegs per dollar of floor space |
| Temperature control | ✓ Built in (Kegco lists 32–75°F on the HBK309S-2K) | ~ Fridge thermostat or an external controller | ✗ Needs an external controller or it will freeze the beer |
| Lifting kegs | ✓ Front door | ✓ Front door | ✗ Lift over the collar (lower with a collar on the lid) |
| Doubles as a fermentation chamber | ✓ Kegco lists dispense or ferment | ✓ With a dual-stage controller | ✓ With a dual-stage controller |
| Main risk | Ball lock only out of the box | Cooling lines in the cut area: check the manual | Refrigerant lines in the freezer walls: never drill them |
Source: Kegco listings; BYO keezer collar build
If you want the least work, a homebrew kegerator with ball lock fittings is the plug-and-pour option. If you already own a fridge, a conversion kit with a door-mount or tower faucet is the budget path. If you want four or more taps, a keezer usually wins. The budget builder lets you list each route with your own prices.
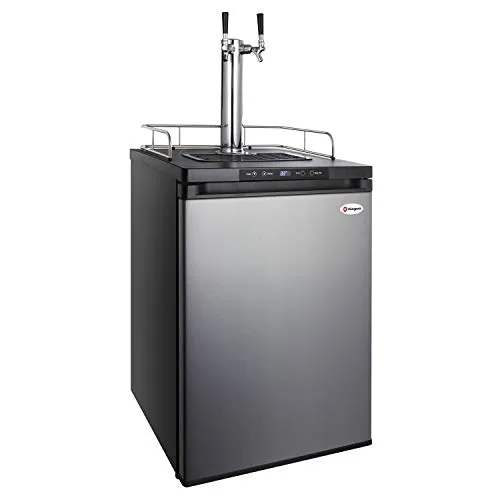
Kegco HBK309S-2 Homebrew Kegerator, 2 Tap, Stainless
- Taps
- 2
- Kegs
- Homebrew (ball lock) kegs
- Temp range
- Digital, 1° steps; dispense or ferment
Best for A dedicated homebrew kegerator
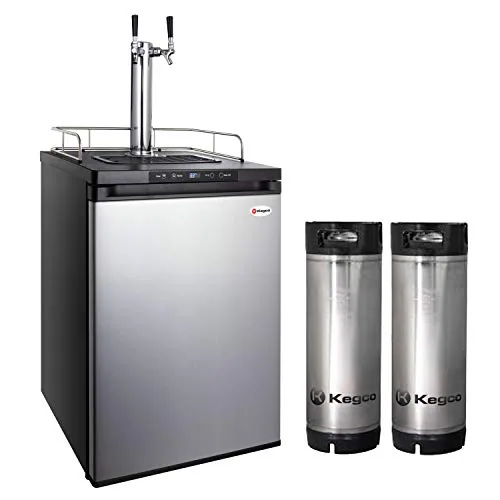
Kegco HBK309S-2K Homebrew Kegerator with Ball Lock Keg
- Taps
- 2
- Kegs
- Includes 1 ball lock keg; fits three 5 gal ball/pin lock
- Temp range
- 32–75°F
Best for Complete homebrew draft setup
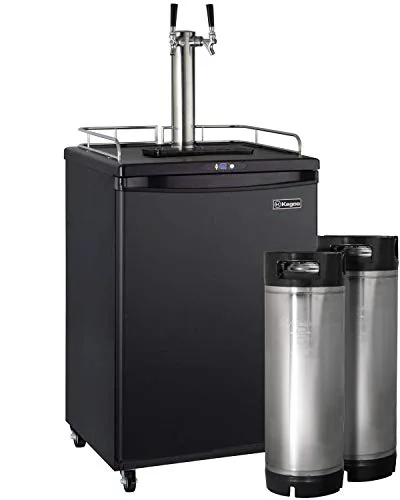
Kegco HBK163B-2K Homebrew Kegerator with Kegs, Black
- Taps
- 2 (stainless tower)
- Kegs
- Taps two Cornelius homebrew kegs
- Gauges
- Home Brew Dispense Kit included
Best for Two homebrews on tap
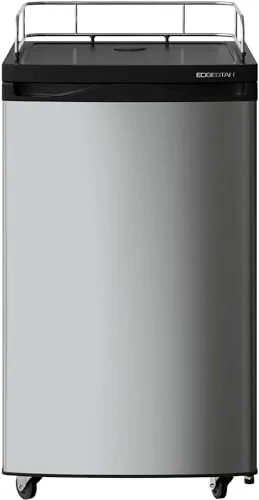
EdgeStar BR2001SS Ultra Low Temp Kegerator Conversion Fridge
- Kegs
- Up to one half-barrel Sankey
- Temp range
- Low 30s – 45°F
- Type
- Kegerator-ready refrigerator
Best for Building your own kegerator
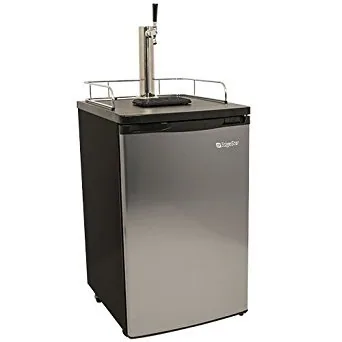
EdgeStar KC2000SS Full Size Kegerator, Stainless
- Taps
- 1
- Kegs
- 1/2 barrel, pony, or two 1/6 or corny kegs
- Temp range
- Low 30s to mid 40s °F
Best for Commercial or corny kegs
Parts list for a kegerator conversion
- Kegs: 5 gal (19 L) ball lock corny kegs are the homebrew standard; 2.5 gal kegs fit small fridges.
- CO2 cylinder: 5 lb is the common size. Many ship empty; fill or swap it at a gas supplier.
- Regulator: dual gauge (tank pressure and output). Taprite lists a safety blow-off at about 55–60 psi on its dual-gauge regulator.
- Gas and beer lines with ball lock disconnects (gas-in gray, liquid-out black on most kits).
- Faucets and shanks (door mount) or a tower. Forward-sealing faucets such as Perlick, Intertap or Nukatap are less prone to sticking.
- Controller for any freezer or for tighter control of a fridge.
- Coupler only if you will tap commercial kegs: most US commercial kegs use a D-system Sankey coupler, which a ball lock kit does not include.
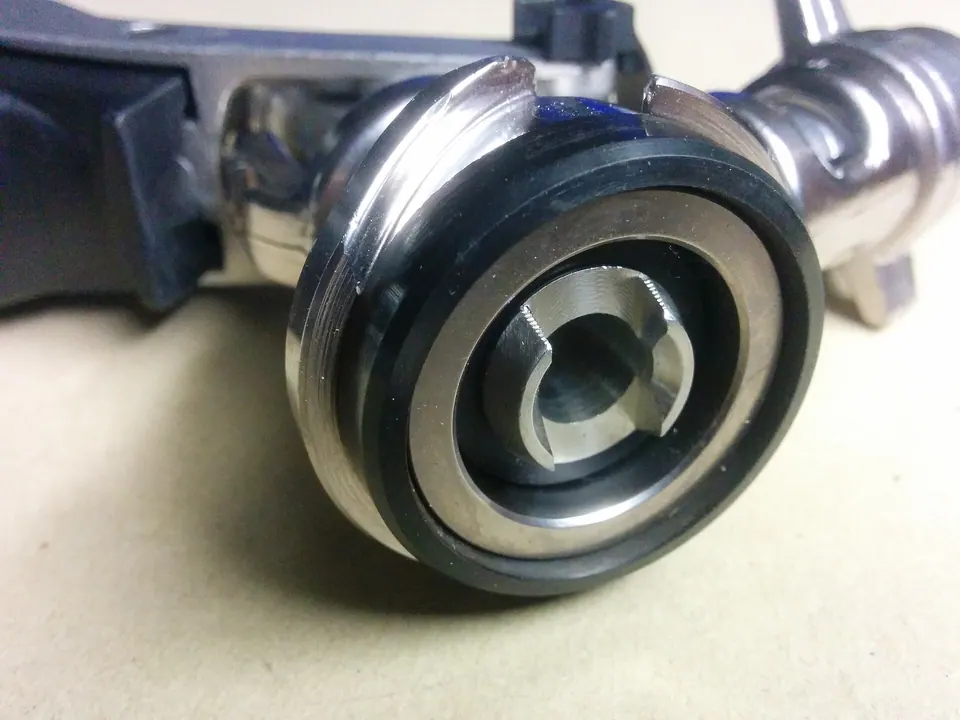
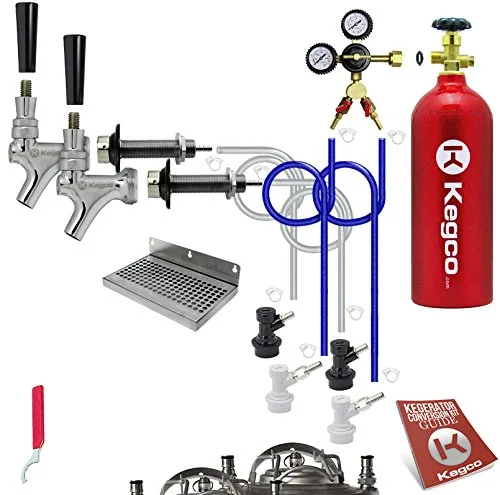
Kegco EBDHCK2-5T Deluxe Homebrew 2-Tap Conversion Kit with 5 lb CO2
- Taps
- 2 (door mount)
- Couplers
- 2 sets ball lock gas-in/beer-out
- Gauges
- Dual gauge, T-style adjuster
Best for Converting a fridge for corny kegs
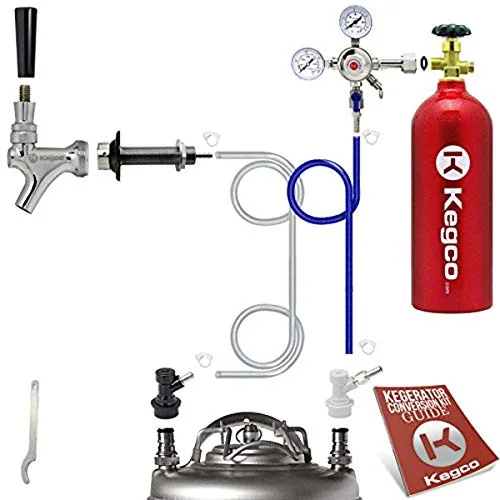
Kegco Homebrew Kegerator Conversion Kit, Single Faucet, Ball Lock
- Taps
- 1
- Couplers
- Ball lock gas-in and beer-out
- Gauges
- Dual gauge regulator
Best for Fridge-to-kegerator for corny kegs
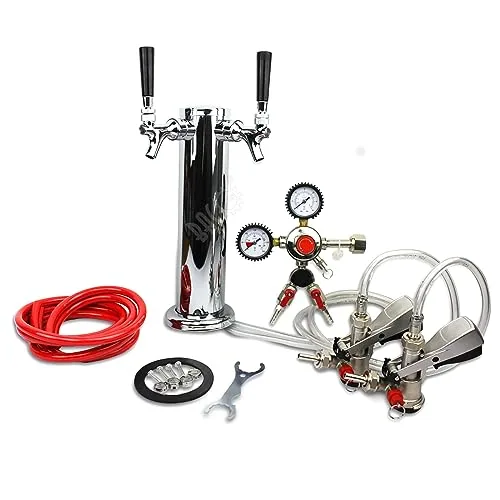
BACOENG Double Faucet Tower Conversion Kit, No Tank
- Taps
- 2 (tower)
- Couplers
- Lever-handle keg coupler
- Gauges
- Dual gauge regulator
Best for Tower conversion on a budget
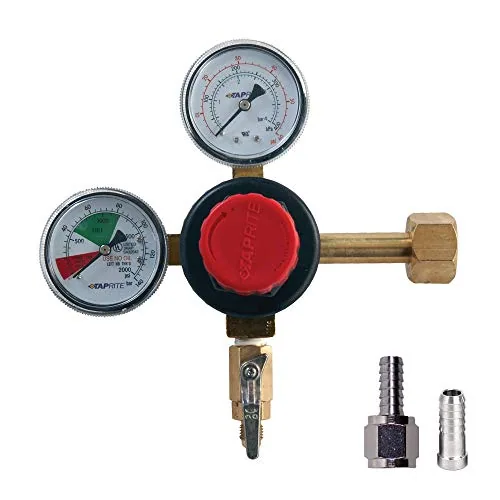
Taprite Dual Gauge CO2 Regulator with MFL Check Valve
- Couplers
- MFL check valve; 1/4 and 5/16 in. barbs
- Gauges
- Dual gauge
- Pressure
- Safety blow-off at 55–60 PSI
Best for First kegging regulator
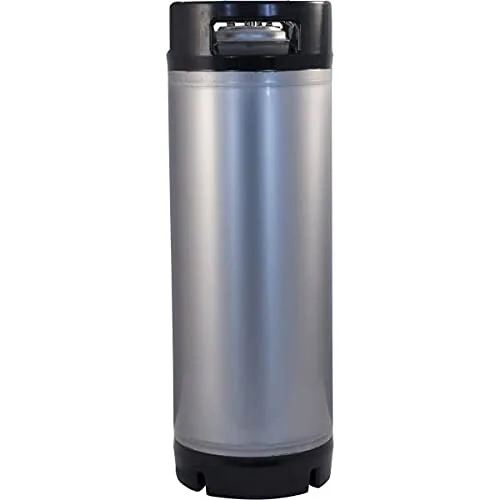
KegLand New Cornelius Keg, 5 Gal, Ball Lock
- Kegs
- 5 gal (19 L), ball lock
- Pressure
- 130 PSI operating
- Material
- 304 stainless
Best for First homebrew keg
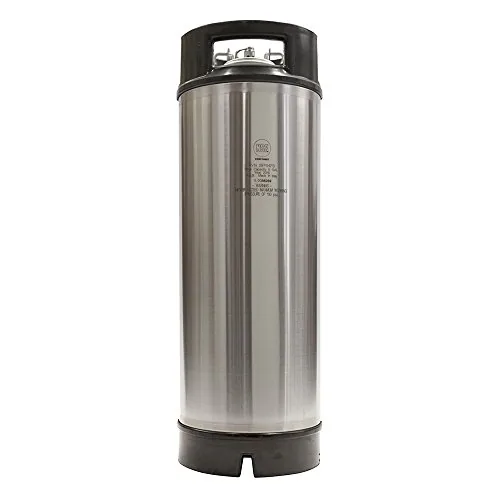
AEB New 5 Gal Ball Lock Keg, Dual Rubber Handle
- Kegs
- 5 gal ball lock
- Material
- 304 stainless, made in Italy
- Size
- 8.75 × 25 in.
Best for Corny keg built to last
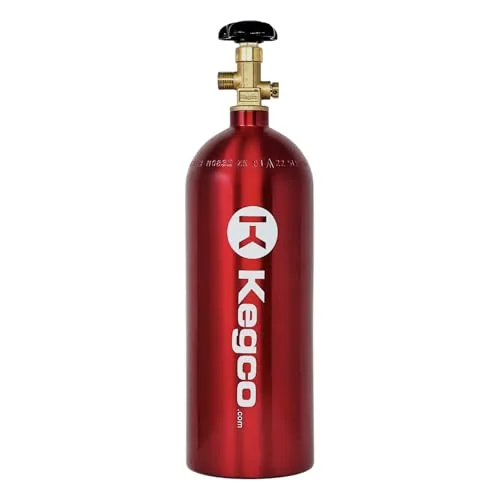
Kegco 3PB5-RED 5 lb Aluminum CO2 Tank
- Gauges
- CGA 320 valve
- Size
- 5 lb
- Material
- 6061-T6 aluminum, 1800 PSI service
Best for Kegerator CO2 supply
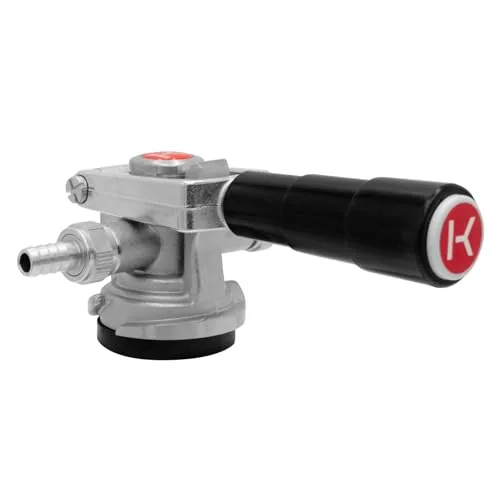
Kegco KT41D-LP Low Profile D System Coupler
- Couplers
- Sankey D, low profile
- Gauges
- 55 psi pressure relief
- Type
- Sankey D coupler
Best for Commercial kegs in short fridges
Faucets
Faucet choice comes down to forward-sealing versus standard rear-sealing designs and whether you want flow control. See the parts in the kegging and draft category.
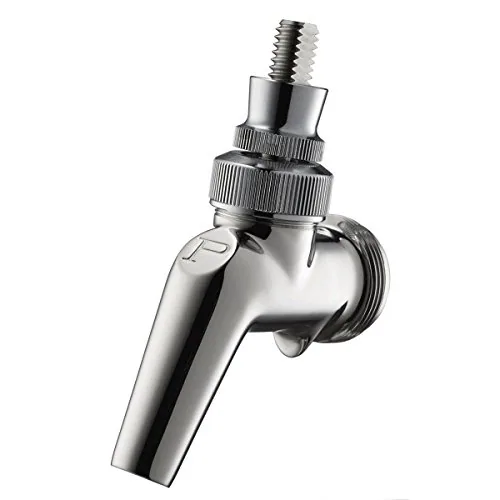
Perlick 630SS Stainless Forward Seal Faucet
- Taps
- 1 forward-seal faucet
- Type
- Beer faucet
- Material
- Stainless steel
Best for Kegerator faucet upgrade
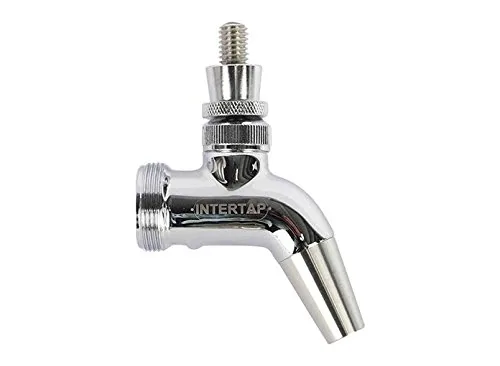
Intertap D1210 Forward Sealing Stainless Faucet
- Taps
- 1 forward-sealing faucet
- Couplers
- Standard 1 1/8 in.-18 body thread
- Material
- All stainless
Best for Upgrading kegerator faucets
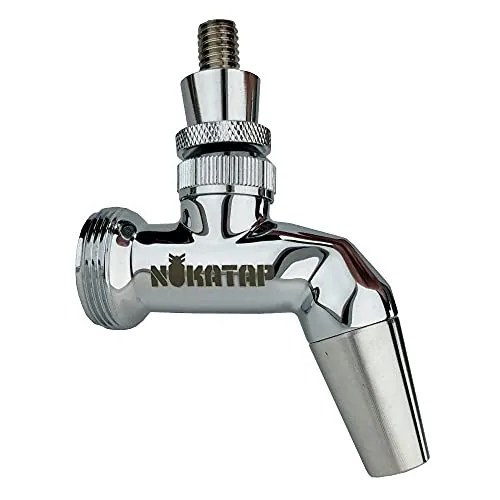
KegLand Nukatap SS Forward Sealing Faucet
- Taps
- 1 forward-sealing faucet
- Couplers
- Fits Intertap accessories and shanks
- Material
- Chrome-plated stainless steel
Best for Budget forward-sealing faucet
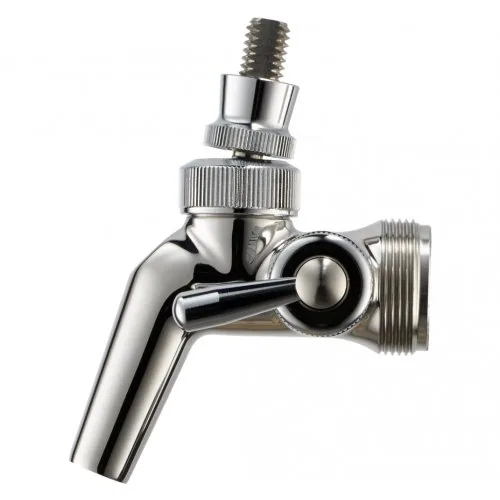
Perlick 650SS Forward Sealing Flow Control Faucet
- Taps
- 1 flow-control faucet
- Type
- Beer faucet
- Material
- Stainless steel
Best for Taming foamy pours
How to build a keezer, step by step
These steps follow the BYO keezer collar build and the general draught practice in the Brewers Association manual. They are a summary, not a substitute for your freezer’s manual.
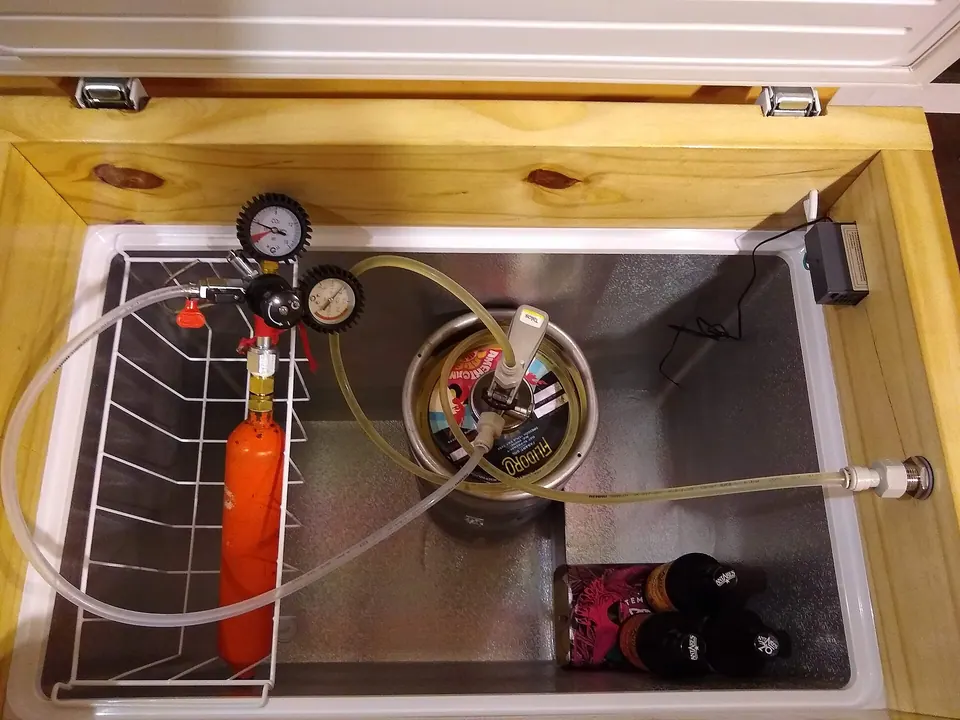
- Choose and measure the freezer
Measure the floor and the compressor hump. Corny kegs are about 8.5 in. (22 cm) across; sketch how many fit, with room for the CO2 cylinder or plan to mount it outside.
- Lock the hinges before removing the lid
BYO warns that spring-assisted lid hinges must be locked before you remove them, to avoid injury.
- Build the collar
BYO’s build used thinned 2×8 lumber sealed with polyurethane and insulated with 1.5 in. foam board; the author’s first pine collar warped and was rebuilt in cedar. Attach it to the freezer body (easier) or to the lid (less lifting over the collar).
- Seal it
Set the collar on caulk, secure it with cleats and caulk the inside seam so condensation cannot wick underneath.
- Drill only the collar
Mount shanks through the wood. BYO: “Do not attempt to drill holes in the freezer wall because it is riddled with refrigerant lines.” Use mounting tape or brackets inside instead. BYO found 3 in. shanks fit better than 4 in. ones.
- Add a controller
Plug the freezer into an external controller and set the freezer’s own thermostat to its lowest setting so the controller governs temperature. A plug-in controller avoids new wiring; BYO says to consult an electrician if you are not comfortable with electrical work.
- Plan gas and beer lines
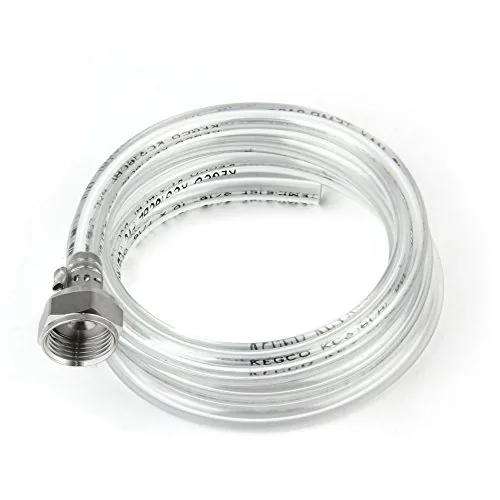
BYO plans about 10 ft of 3/16 in. beverage line per tap at 10–12 psi. Too short a line pours foam at carbonation pressure; see line cleaning and balancing.
- Secure the CO2 cylinder
Keep it upright and strapped, inside or on the back of the unit, always connected through the regulator. Leak-check every fitting with soapy water before filling kegs.
- Pressure-test, then carbonate
Pressurize an empty keg, spray the fittings and watch for bubbles. Then set pressure from the keg carbonation chart and give it time.
Carbonation and serving pressure
Once the box holds temperature, carbonation is a pressure setting. The chart below gives sea-level psi by beer temperature and target volumes, using the formula checked against BYO. Read more in how to keg homebrew and carbonation explained.
Keg pressure (psi, sea level) by beer temperature and target CO2 volumes
| Beer temp | 1.8 vol | 2.0 vol | 2.2 vol | 2.4 vol | 2.6 vol | 2.8 vol | 3.0 vol | 3.2 vol |
|---|---|---|---|---|---|---|---|---|
| 32°F 0°C | 1.6 | 3.5 | 5.4 | 7.3 | 9.2 | 11.0 | 12.9 | 14.8 |
| 34°F 1.1°C | 2.3 | 4.3 | 6.3 | 8.2 | 10.2 | 12.1 | 14.1 | 16.0 |
| 36°F 2.2°C | 3.1 | 5.1 | 7.2 | 9.2 | 11.2 | 13.3 | 15.3 | 17.3 |
| 38°F 3.3°C | 3.9 | 6.0 | 8.1 | 10.2 | 12.3 | 14.4 | 16.5 | 18.6 |
| 40°F 4.4°C | 4.7 | 6.8 | 9.0 | 11.2 | 13.4 | 15.5 | 17.7 | 19.8 |
| 42°F 5.6°C | 5.5 | 7.7 | 10.0 | 12.2 | 14.4 | 16.7 | 18.9 | 21.1 |
| 44°F 6.7°C | 6.3 | 8.6 | 10.9 | 13.2 | 15.5 | 17.8 | 20.1 | 22.4 |
| 46°F 7.8°C | 7.1 | 9.5 | 11.8 | 14.2 | 16.6 | 19.0 | 21.3 | 23.7 |
| 48°F 8.9°C | 7.9 | 10.4 | 12.8 | 15.3 | 17.7 | 20.1 | 22.6 | 25.0 |
| 50°F 10°C | 8.7 | 11.3 | 13.8 | 16.3 | 18.8 | 21.3 | 23.8 | 26.3 |
| 52°F 11.1°C | 9.6 | 12.2 | 14.8 | 17.3 | 19.9 | 22.5 | 25.1 | 27.6 |
| 54°F 12.2°C | 10.4 | 13.1 | 15.7 | 18.4 | 21.1 | 23.7 | 26.3 | 29.0 |
| 56°F 13.3°C | 11.3 | 14.0 | 16.7 | 19.5 | 22.2 | 24.9 | 27.6 | 30.3 |
Formula: PSI = −16.6999 − 0.0101059·T + 0.00116512·T² + 0.173354·T·V + 4.24267·V − 0.0684226·V². Checked against the BYO grid (40°F and 2.4 vol: 11.19 psi by formula, 11.2 psi on the chart). Regulator gauges read relative to local air pressure. BYO notes that Denver needs about 3 psi over the sea-level chart; add roughly 0.5 psi per 1,000 ft. Sources: BYO: Carbonation priming chart; Brewer's Friend: Force carbonation chart; Brewers Association: Draught Beer Quality Manual.
CO2 and electrical safety in a home kegerator
Kegco’s CO2 guidance: keep the cylinder upright and fastened, store it in a cool spot (around 70°F) away from heat, never connect a cylinder straight to a keg without a regulator, and check the DOT test date stamped on the neck. Kegco says not to use a cylinder whose test date is more than five years old and to return it to the gas supplier. If you get a headache and feel short of breath near the unit, close the cylinder valve and leave the room.
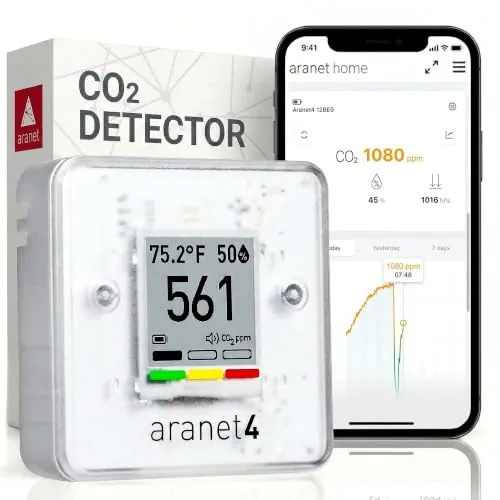
CO2 is heavier than air and collects low, as BYO’s safety article notes. In a basement or small room, a CO2 monitor with an alarm is cheap insurance.
Aranet4 Wireless CO2 Monitor
- Range
- CO2, temperature, humidity, pressure
- Accuracy
- NDIR sensor
- Battery
- Up to 4 years (maker)
Best for CO2 awareness in a garage or basement
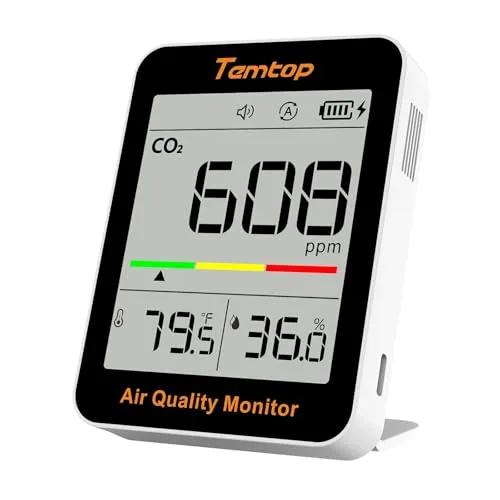
Temtop Portable CO2 Monitor
- Type
- CO2 monitor
- Range
- CO2 400–5000 ppm; 14–140°F; 0–99% RH
- Accuracy
- ±40 ppm + 5% (400–2500 ppm)
Best for Checking CO2 near kegging gear
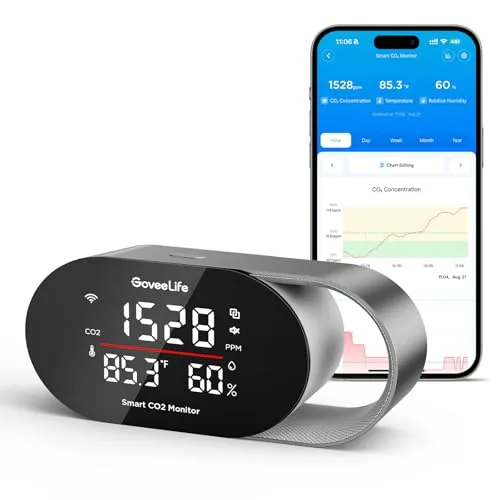
GoveeLife H5140 Smart CO2 Monitor with Alarm
- Range
- CO2, temperature, humidity
- Accuracy
- ±(40 ppm + 5%)
- Connectivity
- App with alarm
Best for CO2 alarm for a keezer room
The freezer itself should plug directly into a grounded outlet, not an extension cord, and any wiring inside a collar should be a plug-in controller or work done by an electrician.
Mistakes to avoid
- Drilling the freezer walls or lid liner. Refrigerant lines run through them; drill only your wooden collar.
- Running a freezer without a controller. It will freeze the beer and can split lines.
- Short beer lines. Foamy pours at the right pressure usually mean the line is too short, not that the pressure is too high.
- Buying a ball lock kit for commercial kegs. You need a D-system coupler for most US commercial kegs.
- A loose cylinder. Strap it upright; a falling cylinder can damage the valve.
- Skipping leak checks. A slow leak empties a tank overnight and fills a small room with CO2.
Who should pick which setup?
Pick a homebrew kegerator if you want two or three taps without tools. Pick a fridge conversion if you have a spare fridge and want one or two taps on the door. Pick a keezer if you want four or more taps, plan to lager in kegs, and do not mind lifting kegs over a collar. All three can double as a fermentation chamber with a dual-stage controller, which is handy for lager brewing. More gear in the switching to kegs hub.
Gear picks for this guide: best kegerators for homebrew and best beer faucets.
Keg carbonation chart and PSI calculatorKeg carbonation chart and calculator: regulator PSI by beer temperature and CO2 volumes, with an altitude…Homebrew startup budget builderAdd up what it costs to start homebrewing with your own prices: 1-gallon kit, 5-gallon extract or a 120V or…