- Amps = watts ÷ volts. A 1600 W element on 120V draws about 13.3 A, close to the limit of a typical 15 A household circuit.
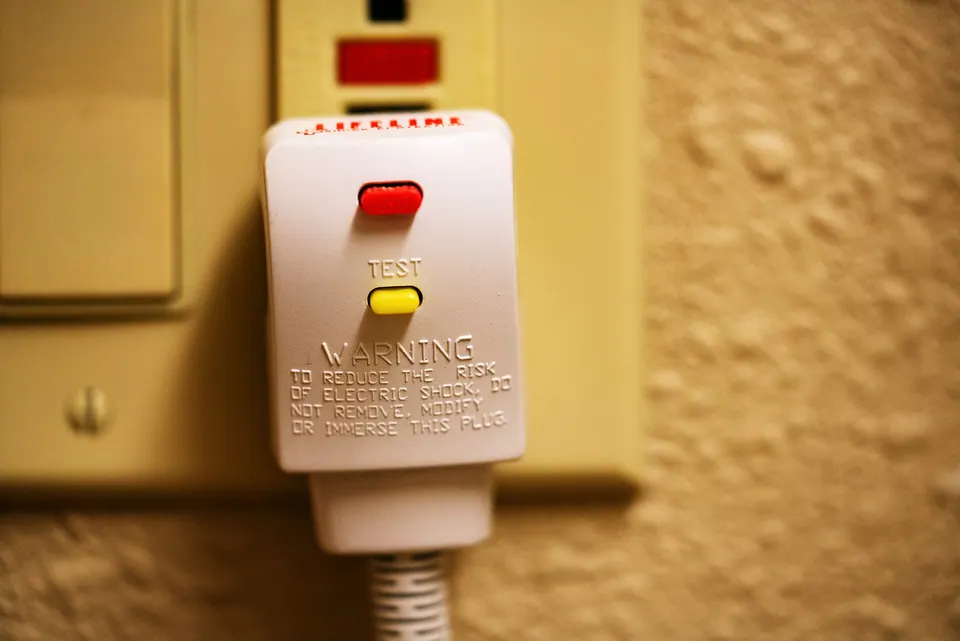
- Use a GFCI-protected outlet or breaker for every electric brewing appliance; water and electricity share the same bench.
- Plug in directly: no extension cords or power strips, and no other big loads on the same circuit. Follow the system manual.
- 240V systems heat faster but need a dedicated circuit. Have a licensed electrician install it, usually with a GFCI breaker.
- Electric means no combustion fumes, which is why it is the right choice for garages and apartments, but steam still needs ventilation.
Electric brewing safety starts with one line of arithmetic and one device. The arithmetic tells you how much current your kettle or all-in-one draws; the device, a ground-fault circuit interrupter (GFCI), cuts power in milliseconds if current leaks through water or a person. Get both right and an electric system is one of the safest ways to brew indoors.
This guide uses maker specs for common 120V and 240V systems, BYO’s “Charged up!” electrical primer and the US Consumer Product Safety Commission’s GFCI guidance. It explains the basics so you can follow your system’s manual and talk to an electrician; it is not a wiring guide, and we deliberately don’t cite electrical code articles. Local code and a licensed electrician have the final say.
How many amps does an electric brewing system draw?
Current (amps) equals power (watts) divided by voltage. BYO’s example: a 2000 W element on 120V draws about 16.7 A, more than a typical 15 A household outlet is rated for. That is why most 120V brewing systems stay around 1500–1600 W, and why bigger systems move to 240V, where the same current carries twice the power.
Current draw by element and voltage
Amps = watts ÷ volts (maker ratings; elements only)
Add any pump, controller or other load on the same circuit. A 13.3 A kettle plus a pump and a space heater on one 15 A circuit is a tripped breaker at best and an overheated outlet at worst. A dedicated 20 A circuit gives headroom for 120V systems; follow the system’s manual for the circuit it requires.
Circuit basics for brewers
| Item | What to know | Source |
|---|---|---|
| Breaker and wire match | A 15 A circuit typically uses 14-gauge wire; a 20 A circuit requires 12-gauge. Swapping in a bigger breaker alone is unsafe. | BYO: Charged up! |
| GFCI | Trips when the current going out and coming back differ by a few milliamps; BYO cites about 6 mA | BYO; CPSC |
| GFCI lifespan | BYO recommends testing regularly and notes GFCIs wear out after about 10 years | BYO |
| Extension cords and power strips | ✗ Not for brewing elements; plug directly into the outlet | Maker manuals |
| 240V circuits | ✓ Dedicated circuit, permit and licensed contractor | BYO; local code |
Source: BYO: Charged up! (Colin Kaminski)
Why GFCI protection matters for brewing
Brewing puts water, steam, wet hands and metal kettles next to high-current appliances. A ground fault happens when current takes an unintended path, for example through spilled wort or through you. A regular breaker only trips on overload; it won’t notice a few milliamps flowing through a person. A GFCI compares the current on the hot and neutral conductors and cuts power within a fraction of a second when they differ.
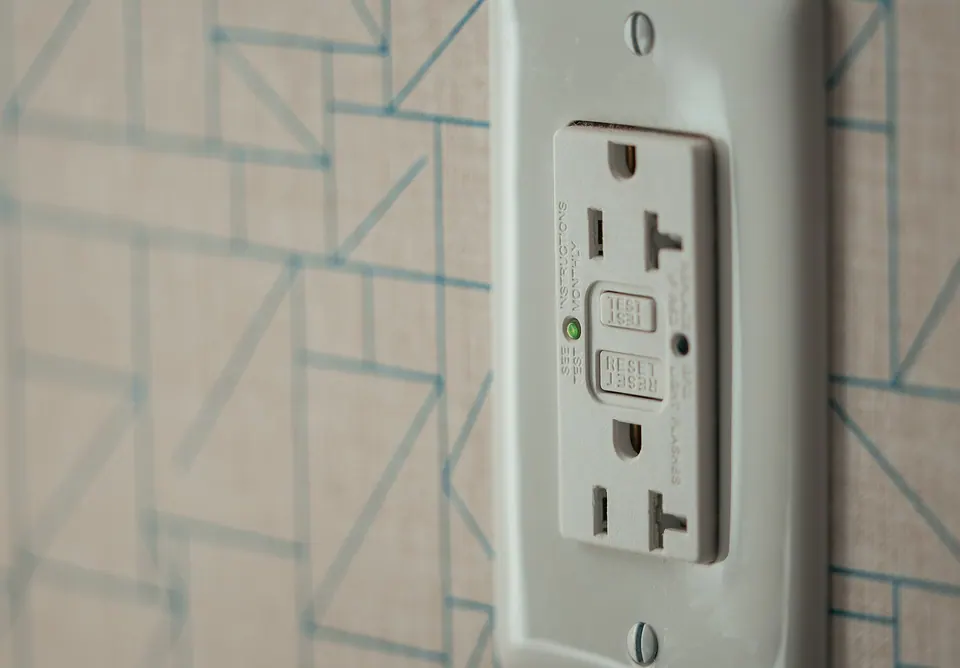
The CPSC recommends GFCIs especially for outdoor outlets, kitchens, bathrooms and basements, and notes that portable plug-in GFCIs can add protection where the circuit has none. BYO strongly recommends GFCIs on all brewery circuits.
- Press the outlet or breaker’s TEST button before each brew day, then RESET. If it doesn’t trip, stop and have it replaced.
- If a GFCI trips during brewing, don’t just reset it repeatedly. Unplug, dry everything and look for the fault (a wet cord, a damaged element, a cracked controller case).
- A GFCI is not a substitute for a correctly sized circuit; it protects people, not wiring.
120V or 240V?
120V vs 240V electric brewing
| 120V | 240V | |
|---|---|---|
| Typical element power | About 1500–1600 W | About 2800–5500 W |
| Heat-up and boil | ~ Slower; insulation helps | ✓ Faster, stronger boil |
| Batch size | ✓ 5 gal (19 L) typical | ✓ 5–10 gal+ |
| Outlet | ✓ Standard outlet, ideally dedicated 20 A GFCI | ✗ New dedicated circuit for most homes |
| Install | ✓ Usually none | ✗ Licensed electrician, permit |
| Examples | Anvil Foundry (120V mode), Grainfather G30 110V, BrewZilla 35L 110V | Anvil Foundry (240V mode), Grainfather G40, larger BrewZilla models |
Source: Maker specs; BYO: Charged up!
Switchable systems such as the Anvil Foundry 10.5 list 1600 W on 120V and 2800 W on 240V, so you can start on a standard outlet and move up later. The Grainfather G40 ships with a 240V NEMA 6-20 plug, so it won’t plug into a normal 120V outlet. Always check the plug type and the circuit the manual requires before you buy.
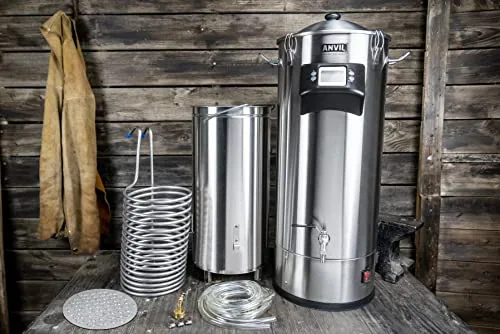
Anvil Foundry 10.5 Gal All-in-One with Pump
- Volume
- 10.5 gal
- Power
- 120V 1600 W (13 A) or 240V 2800 W (12 A), switchable
- Material
- Stainless, double-wall insulated
Best for Dual-voltage all-grain
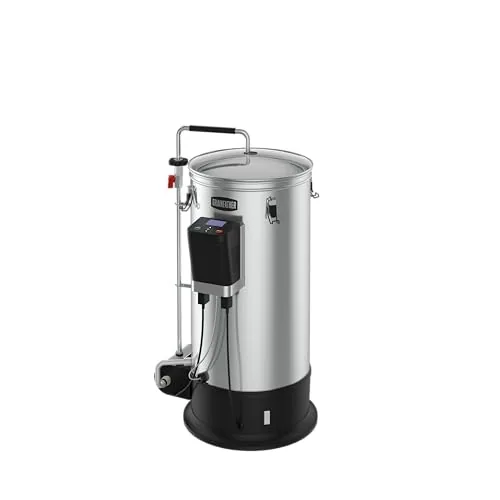
Grainfather G30³ 110V All-in-One Brewing System
- Volume
- 8 US gal
- Power
- 110V (US model)
- Material
- 304 stainless steel
Best for Compact 120V all-grain
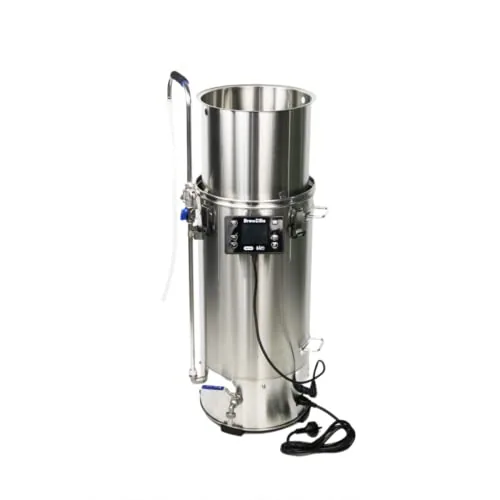
KegLand BrewZilla Gen 4 35L 110V, Wi-Fi/RAPT, with Pump
- Volume
- 35 L (9.24 gal)
- Power
- 110V
- Material
- Stainless steel
Best for 120V all-grain with app control
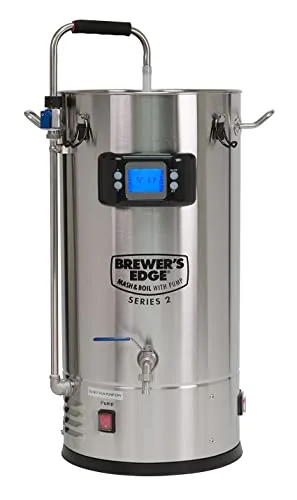
Brewer’s Edge Mash and Boil Series 2 with Pump, 110V
- Volume
- 30 qt
- Power
- 110V
- Material
- Stainless steel
Best for Simple 120V all-grain
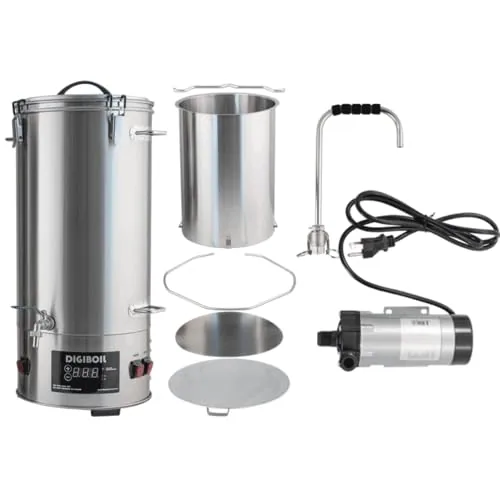
KegLand DigiBoil 35L Electric Brewing System with Pump, 110V
- Volume
- 35 L (9.25 gal)
- Power
- 110V
- Batch size
- 5 gal
Best for Budget-minded electric all-grain
When to call a licensed electrician
- Installing any new 240V circuit or a GFCI breaker in the panel.
- Adding a dedicated 20 A circuit to the garage or kitchen.
- Outlets that feel warm, discolor, buzz or trip regularly.
- Any DIY control panel or element build beyond a manufacturer’s plug-in system.
- Old wiring, two-prong outlets or a panel without spare capacity.
BYO is explicit that changes to home electrical systems require a permit and a licensed contractor in most places. Treat that as part of the system’s cost, and keep the electrician’s paperwork with your brewing notes.
Brew-day electrical safety checklist
- Inspect cords and plugs
Look for cuts, melted spots and loose plugs. Retire damaged cords; don’t tape them.
- Test the GFCI
Press TEST, confirm the power cuts, then RESET.
- Plug in directly
Use the dedicated outlet, keep the plug and controller above the floor and away from spills.
- Fill before heating
Never switch on an element in a dry kettle; it can burn out or scorch. Follow the manual’s minimum water level.
- Manage water
Keep hoses, chillers and drains routed away from the controller and outlet. Wipe spills right away.
- Ventilate steam
Open a window, run a range hood or use a steam condenser lid. Condensation on ceilings and outlets is a real problem indoors.
- Power down to clean
Unplug before cleaning, and let elements cool. Never immerse controllers.
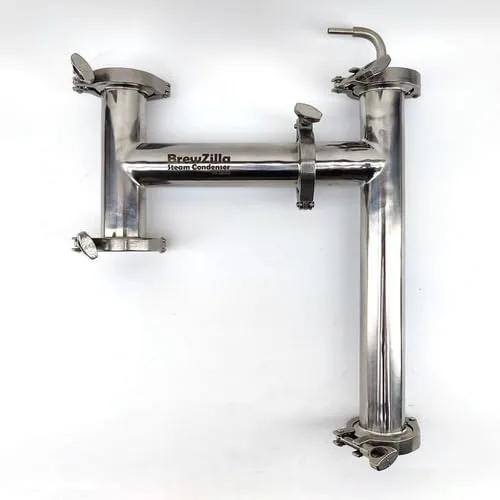
KegLand Steam Condenser Set, 2 in. TC, for 35L/65L
- Volume
- Fits 35 L and 65 L systems
- Material
- Stainless steel
- Type
- Steam condenser
Best for Indoor electric boils
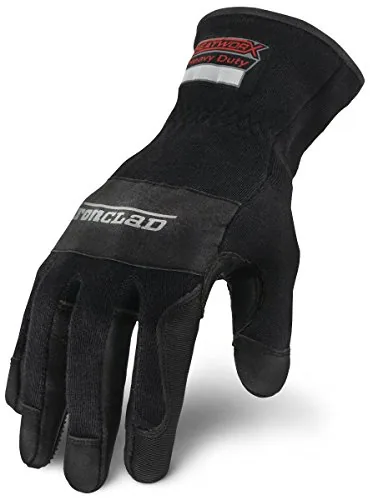
Ironclad Heatworx Heavy Duty Heat Resistant Gloves
- Volume
- Rated to 600°F (315°C)
- Material
- Silicone palm, Kevlar liner
- Type
- Heat-resistant gloves
Best for Lifting hot grain baskets
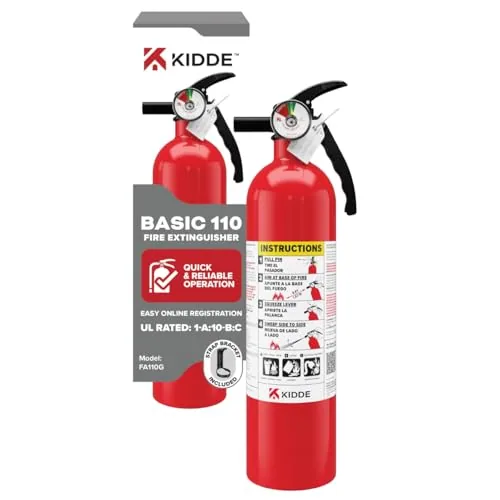
Kidde Basic 110 Fire Extinguisher, 1-A:10-B:C
- Volume
- Rated 1-A:10-B:C
- Material
- 2.5 lb dry chemical, UL listed
- Type
- Fire extinguisher
Best for Brew-day fire safety
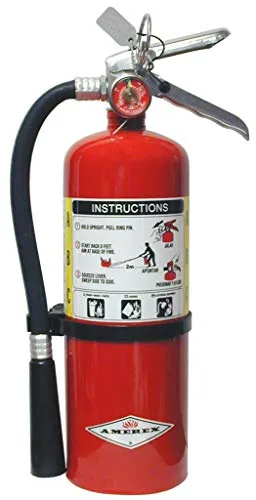
Amerex B500 5 lb ABC Fire Extinguisher
- Volume
- Class A, B, C; 14 sec discharge
- Material
- 5 lb ABC dry chemical, metal valve
- Type
- Fire extinguisher
Best for Garage and brew-day fire safety
Controllers, elements and DIY builds
Temperature controllers for fermentation have load ratings too. The Inkbird ITC-308 listing gives 1100 W at 110V (10 A); check that the fridge and heater you plug in stay under it. PID controllers and solid-state relays for DIY kettles carry their own ratings and heat sinks, and they must be wired and enclosed correctly. Controller setups for fermentation chambers are covered in the fermentation temperature guide.
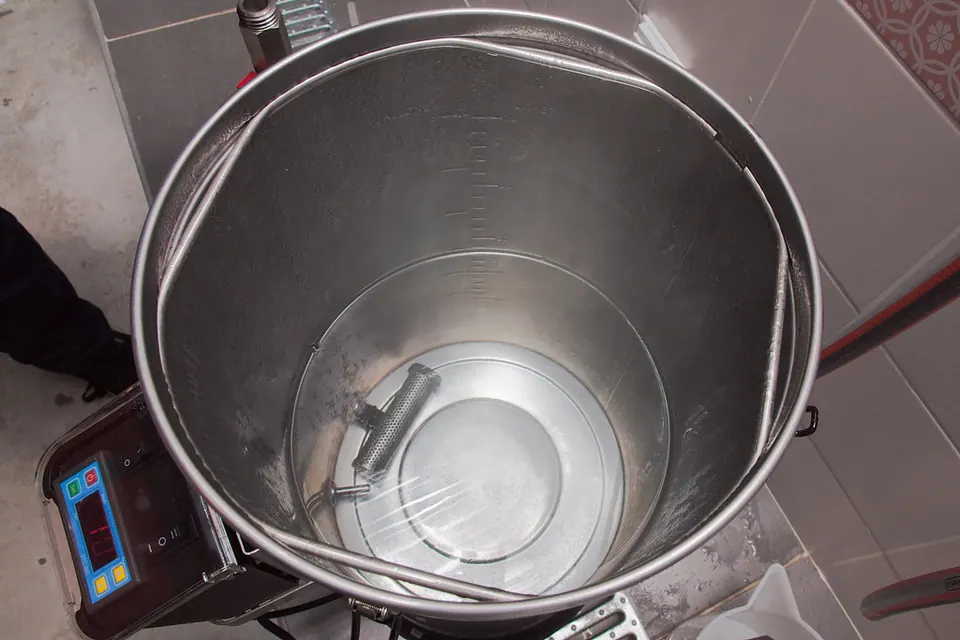
A DIY 240V element build or control panel combines high current with water, which is exactly the situation where mistakes hurt people. If you go that route, use parts rated for the voltage and current, enclose everything, and have a licensed electrician review or install it.
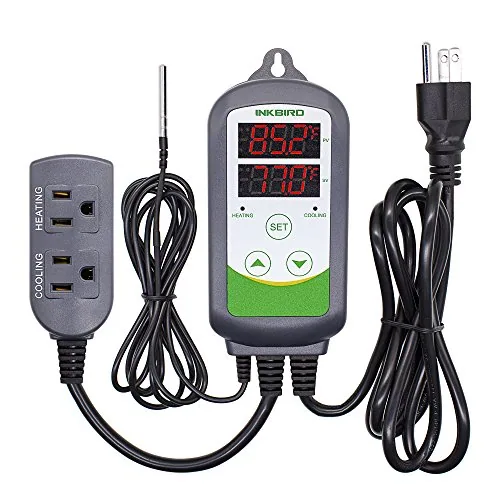
Inkbird ITC-308 Dual-Stage Temperature Controller, 110V
- Outputs
- 2 outlets: heating and cooling
- Range
- °C/°F display, high/low alarms
- Power
- 110V, 10A, 1100 W max (listing)
Best for Fridge or heat-wrap fermentation control
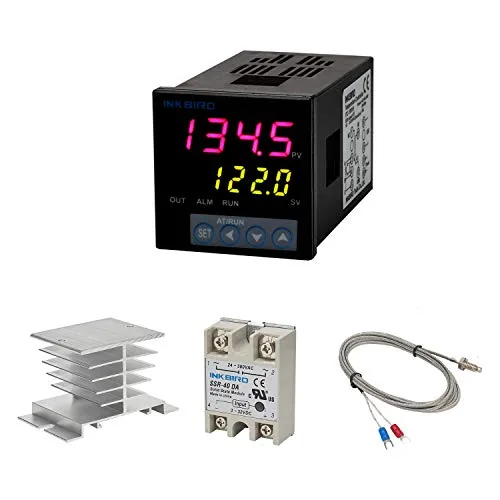
Inkbird PID Temperature Controller Kit with 40DA SSR
- Power
- 100–240 VAC
- Material
- Includes 40DA SSR, K-type thermocouple, heat sink
- Type
- PID controller
Best for DIY electric brewery controls
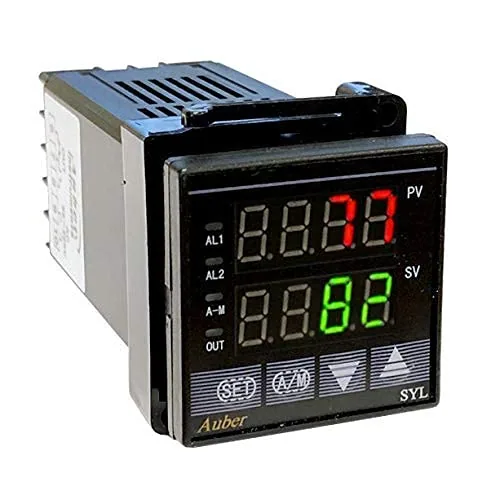
Auber SYL-2352 PID Controller with Dual Alarm
- Power
- SSR output, 1/16 DIN
- Material
- 1/16 DIN, 0.2% accuracy (maker)
- Type
- PID controller
Best for DIY electric brewery controls
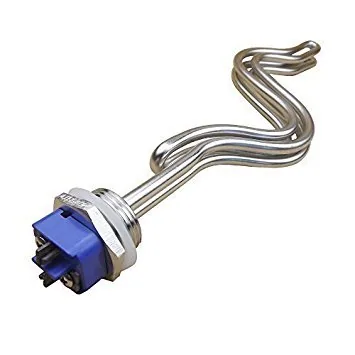
DERNORD 5500W 240V Ripple Heating Element, 1 in. NPSM
- Power
- 240V, 5500 W
- Material
- Stainless, low watt density
- Type
- Electric heating element
Best for 240V eBIAB builds
Electric vs propane in a garage
Propane burners belong outdoors only. CPSC’s guidance for the similar jet burners used in turkey fryers is to keep them out of the garage, off the deck and away from the house, and propane combustion makes carbon monoxide, which the CDC describes as an odorless, colorless gas. An open garage door is not “outdoors.” That is the main reason electric systems are the standard recommendation for garage and apartment brewers.
Brewing extract on a kitchen stove is fine too; see how to brew beer at home.
Mistakes to avoid
- Running a 120V system on an extension cord or power strip.
- Sharing the circuit with a space heater, freezer or shop tools.
- Skipping the GFCI test. A failed GFCI looks exactly like a working one until you test it.
- Upsizing a breaker without matching wire. It removes the protection the breaker provides.
- Dry-firing an element. Fill first.
- Ignoring steam. Condensation drips into outlets and fixtures.
- Unlisted budget systems. Look for a recognized safety listing (UL, ETL or CSA) on the unit or in the manual; if it isn’t listed, ask the seller before buying.
Who should choose which setup
- Apartment or rental: a 120V all-in-one or electric kettle on an existing GFCI outlet, with a steam condenser or good ventilation.
- Garage, 5 gal batches: 120V on a dedicated 20 A GFCI circuit.
- Garage, faster boils or 10 gal batches: 240V with an electrician-installed GFCI-protected circuit.
- No electrical work possible: brew outdoors with propane, in open air away from the structure.
Pick a system in the brewing systems category, then follow how to brew all-grain for the process. Record your outlet and circuit details in the brew-day log notes for future reference.
Gear picks for this guide: best all-in-one electric brewing systems.